Developing film yourself is not complicated at all and it is a lot of fun. You do need some equipment and chemicals so let’s start with a shopping list first.
Here is what you will need:
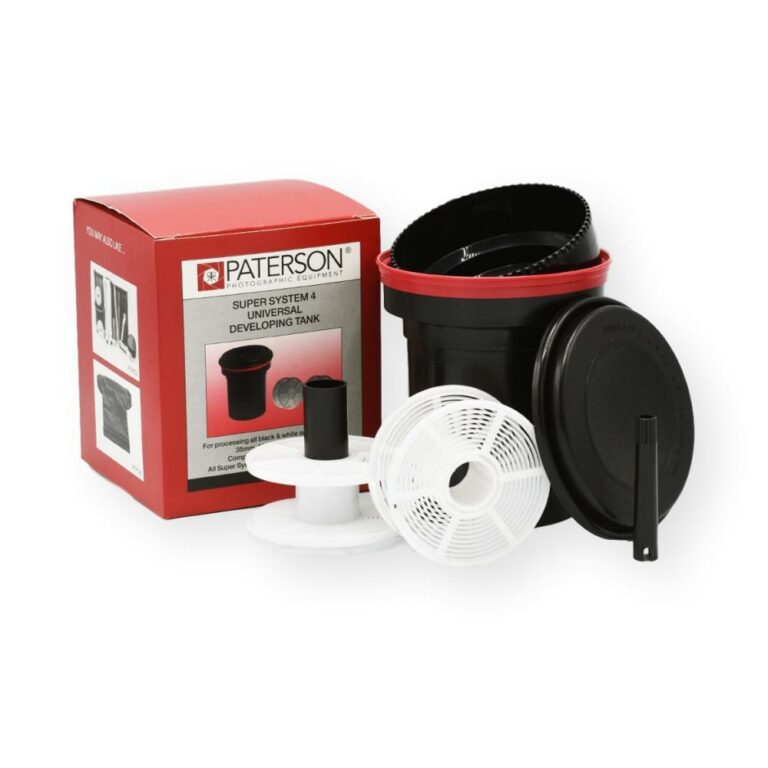
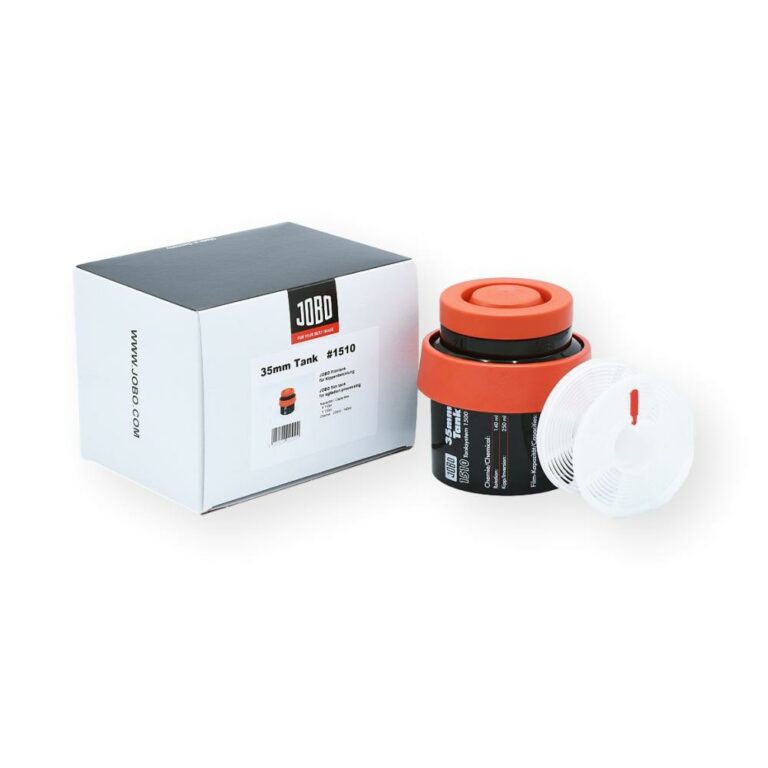
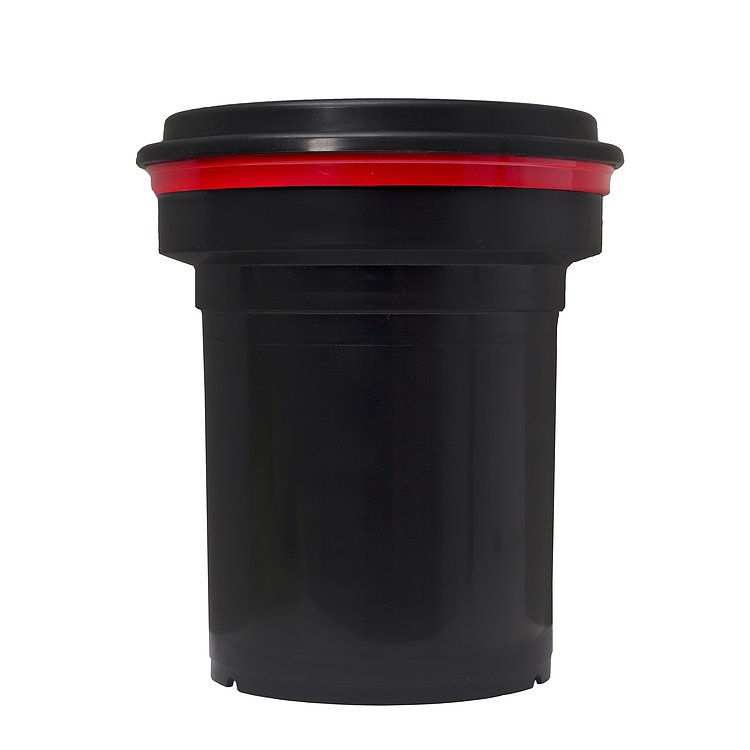
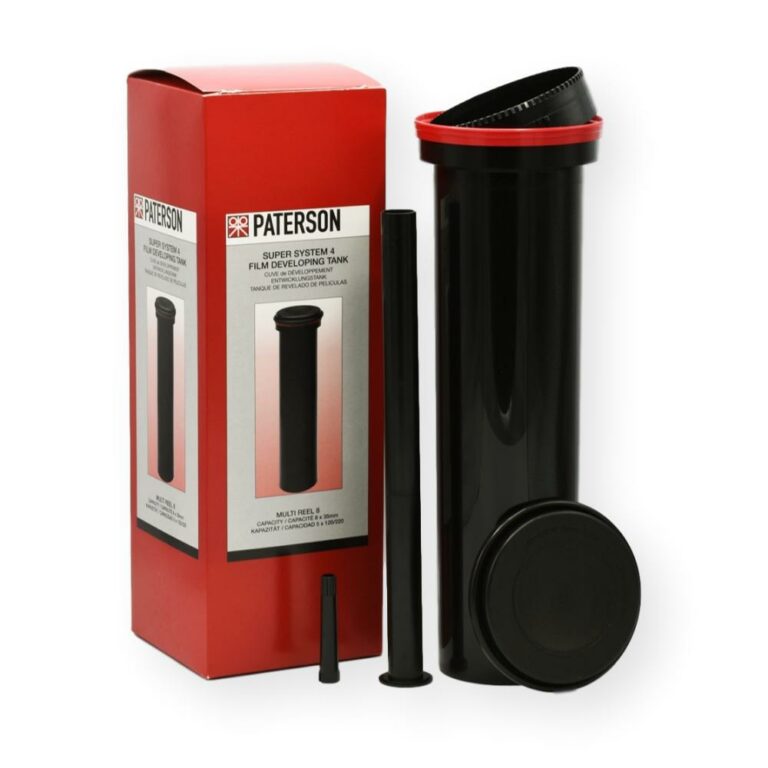
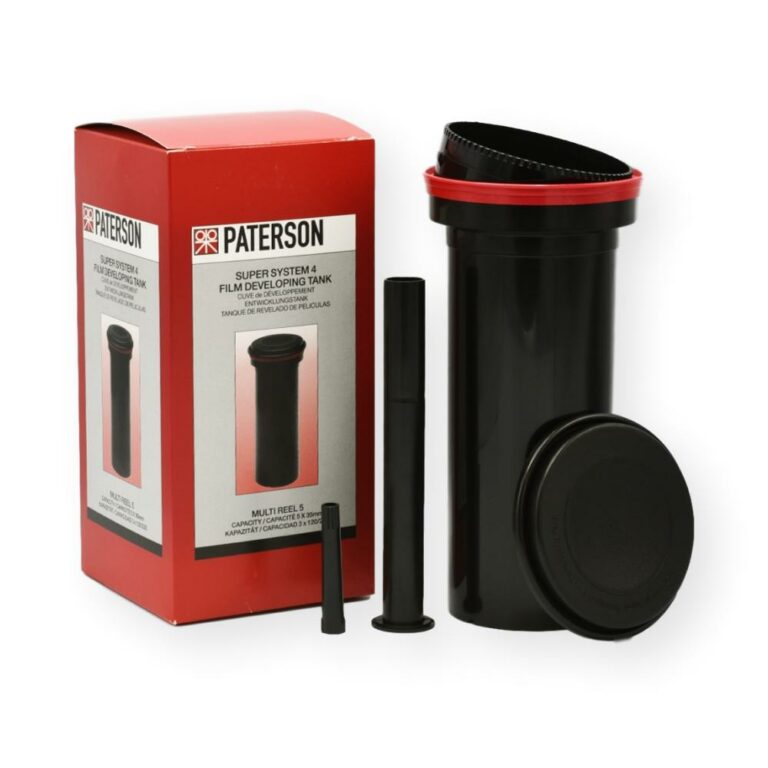
- a developing tank
- a changing bag or a completely dark room
- a good thermometer
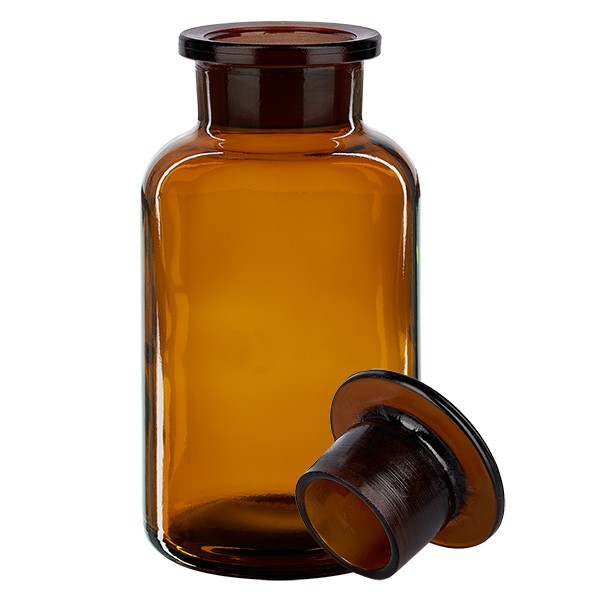
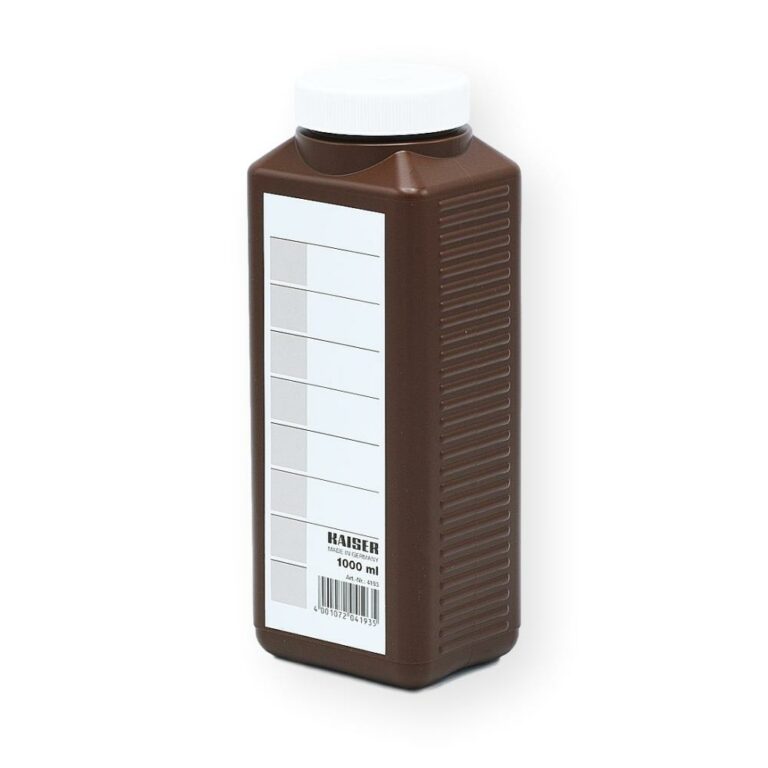
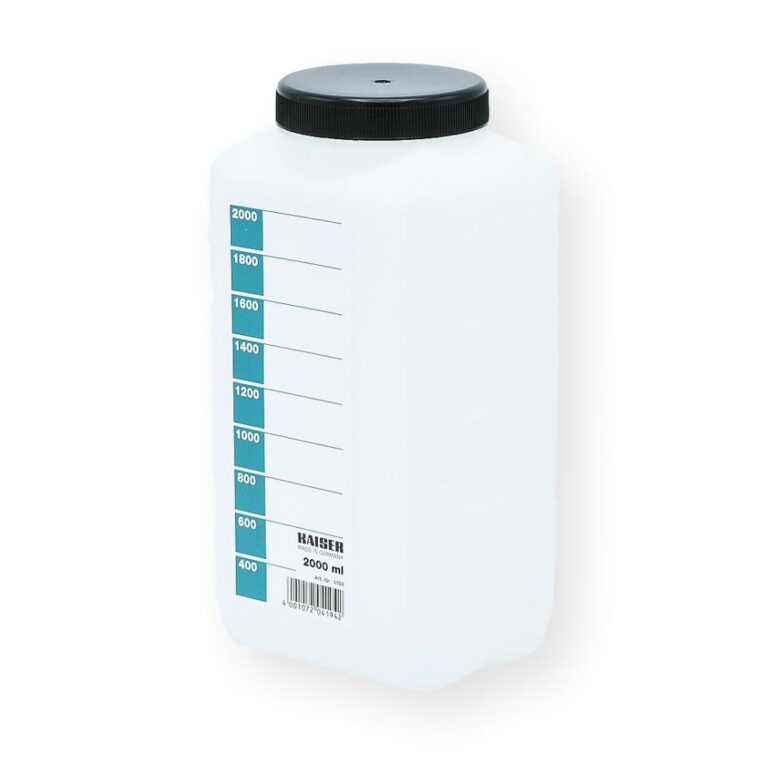
- 3 storage bottles, stop bath and fixer can be re-used as can some developers
- 2-3 measuring cylinders or jugs, use one exclusively for the developer to avoid cross contamination of chemicals
- a stirrer when you would like to use a powdered developer instead of a liquid one
- a funnel
- a film cassette opener or film lead retriever
- scissors
- some film clips or clothing pegs
- a timer, or use your phone
Chemicals:
- Developer
- Stop bath
- Fixer
- Wetting agent, useful but not essential
Make sure you have water available too. You will need this to wash the processed film. Running water at or about the same temperature as your processing chemicals is best.
Preparation and organisation
The first step is to load your film on the spiral of your development tank. It is one of those things that becomes second nature once you have practiced it a few times. It is not complicated but once the lights are out it can be a bit daunting.
We recommend getting some exposed film to practice the next step in the light first, before you load your undeveloped film. Try it a few times and before you know you will get the hang of it.
Loading the film needs to be done in complete darkness. Even the tiniest bit of light can ruin your film. So put your phone away and check the room for light sources such as LED displays or power LEDs. Yes, these faint lights can ruin your film. Happy with the room? Then let’s get organised.
Film emulsion can be stripped of the edge of the film during loading and unloading, so make sure the spiral is clean and that there is nothing stuck in the grooves. Also make sure that your spiral is completely dry. It is not possible to load film onto a spiral that is even so much as damp.
Now lay your developing tank out in front of you with the lid off and the spiral removed. Assuming you want to develop a 35 mm film, put the film canister opener (or film lead retriever) and a pair of scissors next to the tank. Also have your film ready.
Remember the positions of the items in front of you (and always try to use the same positions) so you can easily find them in the dark. Now turn off the lights.
No dark room available? No problem! You can always use a changing bag. Just place the tank, canister opener / film lead retriever, scissors and film inside the changing bag and zip it up. Put your arms inside the sleeves. To prevent any light getting in make sure that the cuffs are tight enough around your arms.
Load the film
If you are lucky or careful when you rewind your film, the leader will be left sticking out. It is the curved bit at the start of your film. You want to remove this bit and be left with a slightly rounded end which is easier to feed into the spiral.
If the film is still in the cassette, pull out a couple of inches and use the scissors to cut between the sprocket holes as you do not want any bits sticking out to catch on the spiral. If you do not have the leader sticking out, you have two options.
- Use the film canister opener to remove the top ring of the film cassette. Slide the film out and try to keep the film from unrolling at this stage. Trim as above.
- Use a film leader retriever to pull the leader back out of the cassette.
Now pick up the spiral and make sure you can feel both notches on the outer edge are aligned. You then need to gently slide the end of the film under the two notches.
If you had to remove the film from the cassette you will probably have to let it go now. Four feet of film swinging about makes it awkward but it’s okay.
If you are using a Paterson type spiral, the ones with the ball bearings at the start, you just have to feed the film over the ball bearings until the sprocket holes catch on the bearings. If you are using a Jobo-type spiral, you will have to apply a little pressure with your thumbs onto the edge of the film to hold it. There is a groove kind of thing just where the film goes in.
Now wind the film on. With the Paterson spiral, this is fairly easy. If you still have the film in the cassette you can pull a fair piece out now. Hold the spiral in both hands and rotate alternate sides back and forth. Do not push the film on, wind it on. With the Jobo spiral, when you rotate one side, release your grip on the film edge on the opposite side.
Take your time and do not try to rush the film on. If both film and spiral are dry, and you took care when first loading the film in, making sure both edges of the film are in the same groove on the spiral, the film should go on fine. When you reach the end, cut the film, leaving any tape that was holding the film on the reel.
Film stuck?
No worries. This happens sometimes. If you feel you are forcing the film, or it makes crunching noises, it is stuck. Just stop and slowly pull the film back out. Often just pulling a few inches back out, then trying again, works fine if it was sticking. Likewise, sometimes gently squeezing the sides together a couple of times, can also free of a sticking film. In worst case you will have to take the film off and start again. This is a pain if you had to take the film out of the cassette but if you could keep the film in the cassette you just have to wind it back in and try again.
With the film on the spiral, you now need to put it in the tank. Slide the spiral over the centre spindle, put it back in the tank and lock the tank’s funnel in place.
Your developing tank is now light-tight and it’s safe to turn the lights on or take the tank out of the changing bag.
Mix up your chemistry
The specifics of this will depend on which chemicals you have chosen. You can usually find the dilution ratio for chemistry on its label, if not try to search for the product in our shop, we have added the manufacturer’s info as a PDF on many product pages. With this, you can work out how much you will need relating to water. You will need 300 ml of developer, stop and fix per 35 mm film, and 500 ml per 120 film.
Say you have one 35 mm film to develop, and your developer has a dilution ratio of 1+9. You would divide 300 ml by 1+9 (=10), and this would tell you that you need to mix 30 ml of developer with 270 ml of water. Repeat this for the stop bath and fixer chemicals and make sure that you avoid chemicals cross contamination. Ideally, you would use one of the two measuring cylinders for the developer only.
Each chemical will also give you the time it takes to work and the temperature it works best at. Check the temperature of your chemicals. Ideally, they should be at 20 °C when processing black and white film.
The easiest way is to get your water to the right temperature first, then add in the chemistry. If you find it is warmer or cooler than it should be, just sit your jug in warm water to heat it up or cold water to cool it down. Alternatively, if your developer is not at 20 °C you can always adjust the time. There will be a chart or graph to calculate changes in the manufacturer’s specifications.
If you’ve got three jugs you can mix up your developer, stop bath and fixer in advance, so they are all ready to go as you need them.
If you are happy, you are ready to start. Once you start, you cannot stop from here on.
Develop your black and white film
Every film and developer combination has a specific developing time so make sure you know how long your combination will need. Here is an example of such a chart for Ilford films: link.
Set a timer going, your phone works fine for this, and slowly pour the developer into the central funnel of the processing tank. Once it is all in, securely fit the flat lid. Tap the tank on the work surface to dislodge any air bubbles.
You will need to agitate the tank throughout development. Agitation is important to keep fresh chemistry in contact with the film surface. This makes sure the film gets evenly developed. You can agitate by turning the tank upside down, then back up again. Alternatively, you can rotate the spiral inside the tank. A tool to help with this would have come with the tank.
Agitate for the duration of the first minute. Once the minute is up, bang the bottom of the tank against a hard surface again. You want to make sure that any air bubbles that have built up on the film dislodge.
Continue agitating for the first 10-15 seconds of each minute until the full development time has passed. About 10 seconds before the development is due to end, start to slowly pour out the developer. A one-shot developer, such as Adox Adonol or Rodinal should be discarded. A reusable developer can be put into an airtight plastic bottle to be used again.
Stop bath
Now quickly pour in the stop bath. The stop bath will completely stop development. Agitate the stop for a minute and use your funnel to pour back into a storage bottle. The stop can be reused many times so do not waste it.
Fix your film
Pour in the fixer, agitate continuously for the first 30 seconds then intermittently for the duration of fixation. Fixing will take up to 5 minutes, but please check the documentation that comes with the fixer.
The fixer “fixes” the image and makes it permanent when exposed to light. About halfway through fixing the film will be safe to look at in the light if you cannot wait to see it. Make sure you give it the full time though, as this is key to the longevity of your negatives. It is also more convenient to keep the film on the spool until washing has been completed.
The fix can also be reused, so use a clean funnel to pour it out into a bottle once the film is fully fixed.
Wash and hang up to dry
Now the film is developed and fixed you just need to wash it.
As per Ilford’s instructions; fill the spiral tank with water at the same temperature as the processing solutions, invert the tank 5 times. Drain the water away and refill. Invert the tank 10 times. Once more, drain the water. Invert the tank twenty times and drain the water away.
Alternatively, leave the tank under running water for 7 to 10 minutes. This wastes a lot of water so please consider the first option.
When the film has been through the wash, fill the tank with water and put a couple of drops of wetting agent in. Leave to soak for 30-60 seconds. Wetting agent is used to aid the drying process by preventing drops of water from forming on the film surface which can cause drying marks.
Take the spiral out of the tank and shake off the excess water. Carefully pull the film free and use your fingers, chamois leather or squeegees to wipe the excess water from the film.
Before hanging up to dry somewhere warm and preferably dust-free, admire your pristine negatives. Marvel at their razor sharpness and biting contrast then hang them up. Use a clip at the top and one at the bottom to help prevent curly film once it’s dry.
Shop
Here is a small selection with some items discussed in this article. You will find all equipment here and all chemicals here.

Disclaimers
- For the best results please always consult the manufacturers instructions for accurate process times, temperatures, dilution ratio etc.
- Photographic chemicals are poisonous. Be extra careful if you are working in a kitchen. Any utensils you use preparing chemicals can only be used for that purpose.
- Please consider the environment and follow Ilford’s 7-minute washing instructions and dispose obsolete chemicals and packaging materials in a way that is best for the environment.
Read more
Explore more and read our News, Guides, Community, Film Reviews, Opportunities, and Film Developing Times.
Feedback
I am keen to hear from you if you are using our guides and hope they are useful and not too dull. I am also happy to answer questions if I haven’t covered what you are interested in yet.