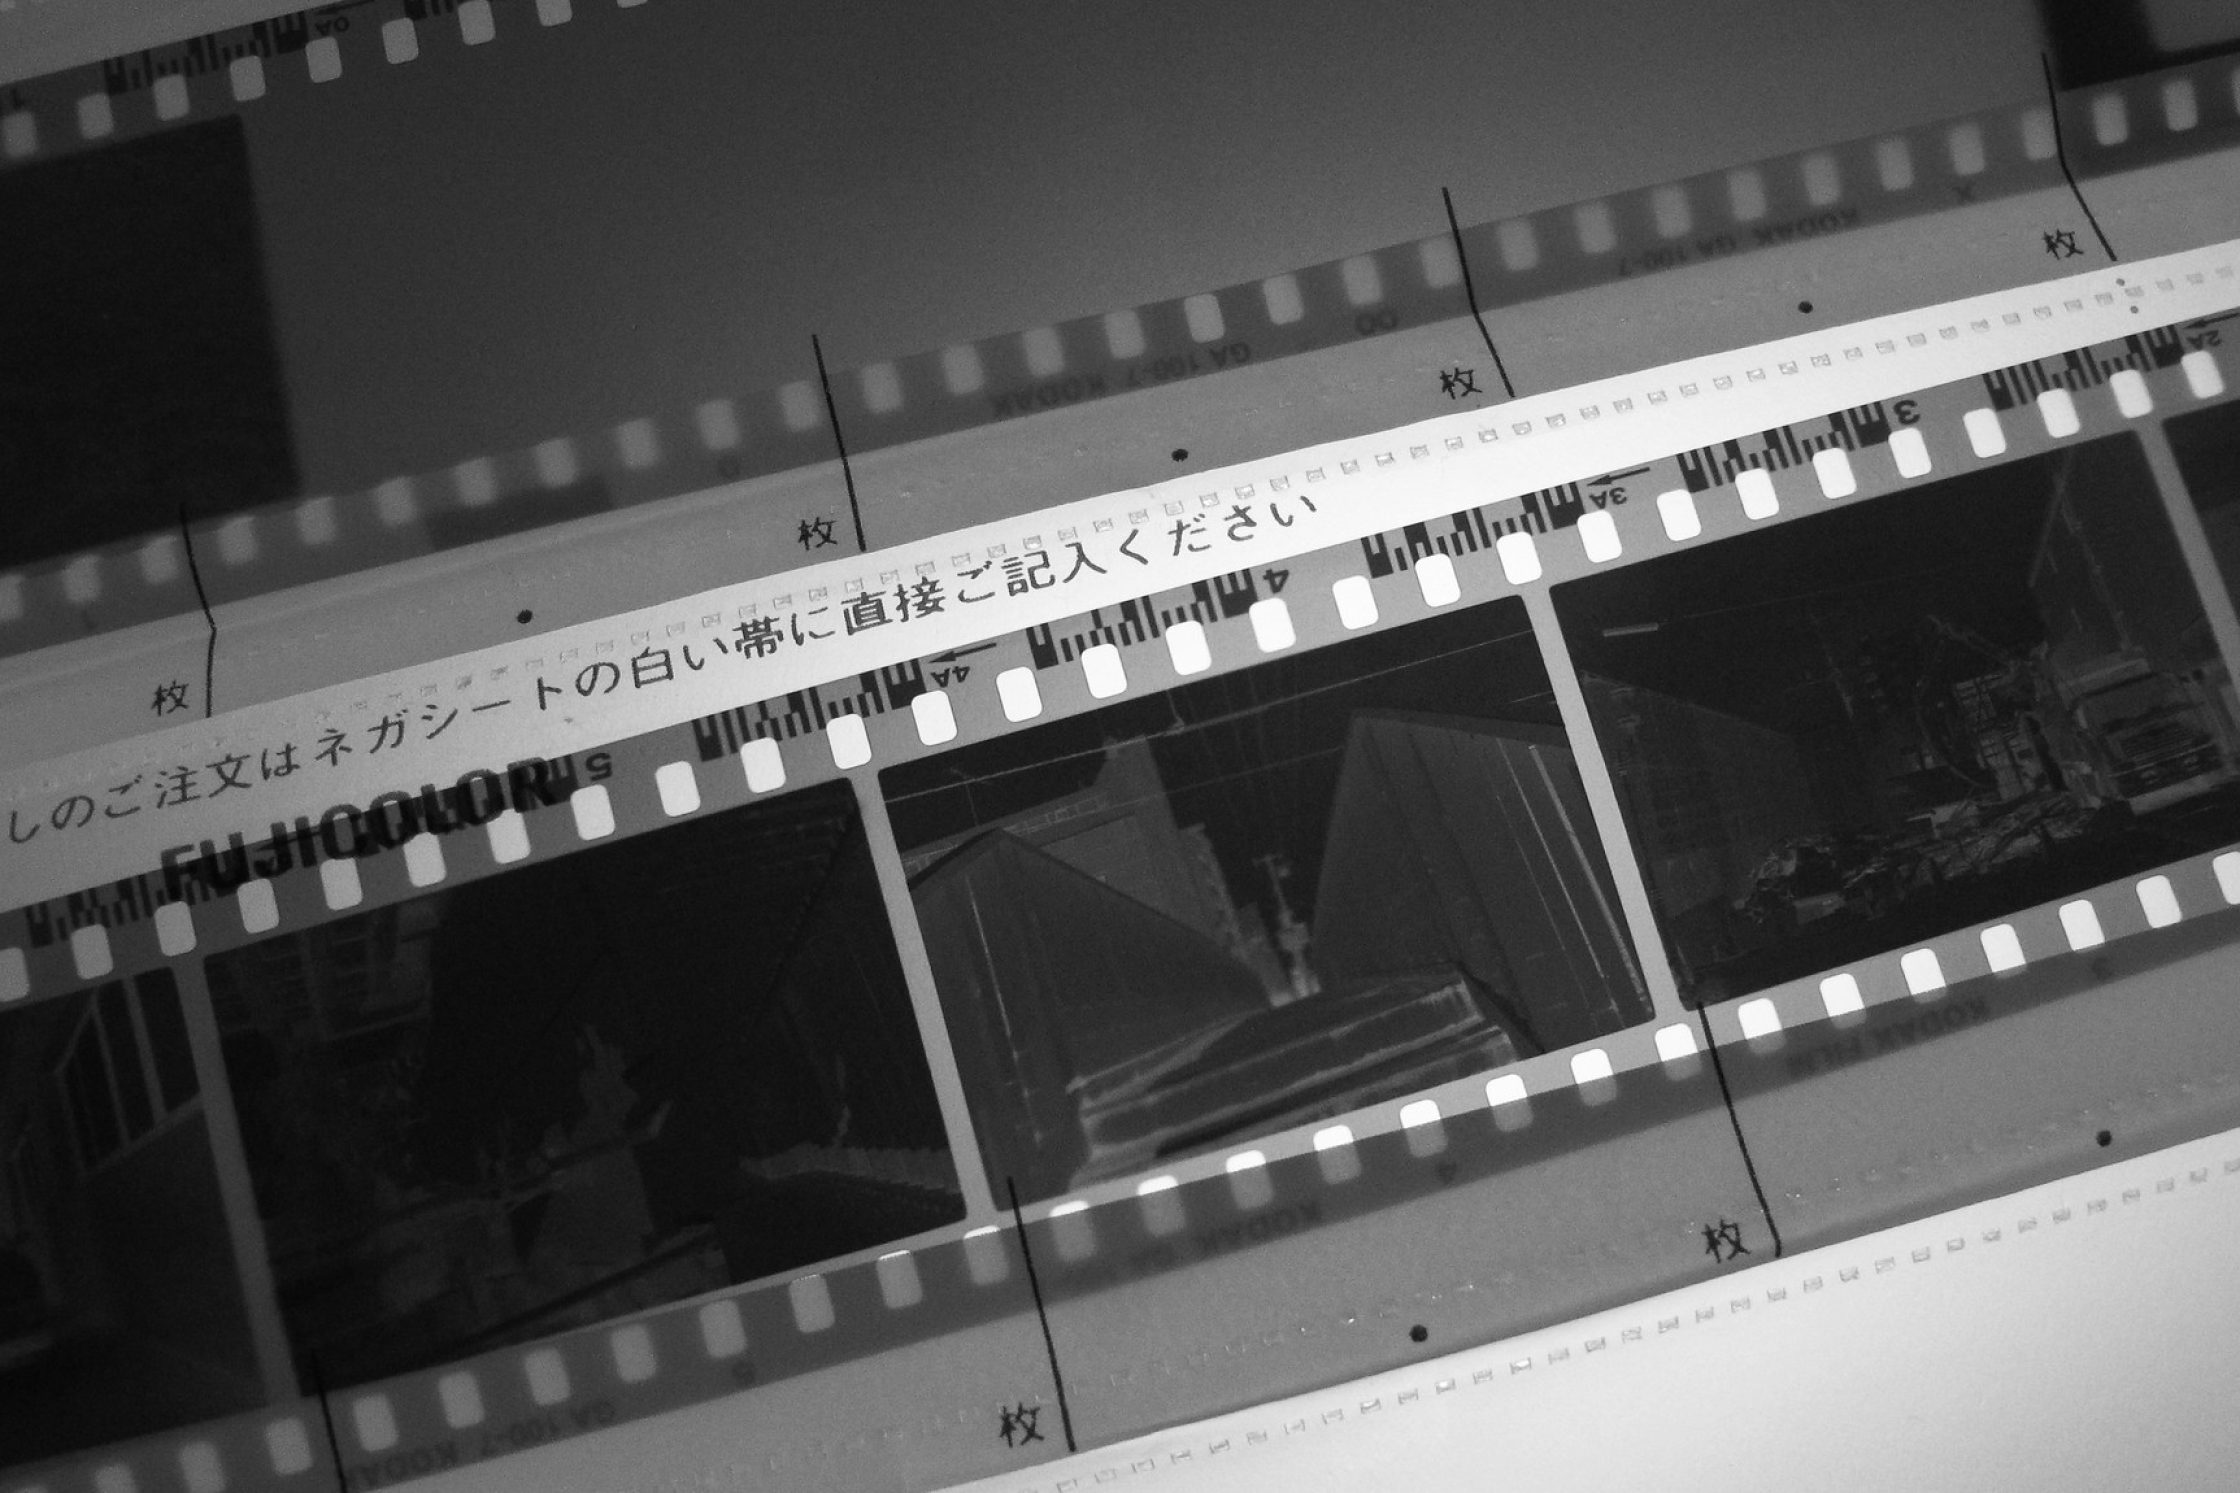
Unless your film has been developed recently, and is more or less dust-free, you may need to prepare your negatives. Negatives, in particular those that have been stored for many years, may need to be cleaned from mold, fingerprints, debris and more.
Cleaning is relatively easy and safe and prevents you from running into issues that cannot be fixed in post processing. Each dust particle is visible on the scans and removing them can be a frustrating and boring task. Therefore it is important to minimise the level of dust and debris before scanning your images.
The smaller the size of the negative, the more important it becomes to make sure they are dust-free. Think about it, 35mm film is relatively small so even tiny dust particles cover a relatively large area of your negative or slide. This means that crucial detail of your images can be covered.
Dust is the enemy
Before you start, make sure that your working environment is clear of dust. If you want to achieve the best scanning results close nearby windows and doors, and use some warm water and soap to clean your desk. Use a towel to make sure that the working surface is dry before you commence to clean the negatives.
It may sound silly but consider using your bathroom if you need to clean negatives. Different rooms have different levels of dust pollution and your bathroom might be the best place in the house. Temperature and humidity are the two key factors. Run hot water through the shower for a couple of minutes and then wait for 10 minutes for the steam to settle down — the evaporating steam will fix all dust particles in the air and then sink to the floor. This is as far as you get to a dust-free room.
Be gentle with your film
We cannot emphasise enough how important it is to work properly and precisely. Take your time. Rushing through the process just means that at some point you have to redo the whole process again.
Glove up
Use gloves to be able to freely touch your photographic material. This way you won’t create fingerprints on your photographs. This is crucial not only for being able to create good scans but also for making them last longer.
Each time you’re touching your negatives with your bare fingers you are transferring organic material and over the long term, this can cause damages such as mold.
Ideally you want to buy some high-quality gloves which can be used for archival purposes. Make sure the material is organic and does not loose fibers.
Air
The most gentle way to get rid of light dust and other particles is always the best way. Photographic emulsion is highly sensitive. This means before using a brush or cloth you should try using compressed air.
Air is a great way to loosen or remove debris and dust from films. You can either buy compressed clean and dust-free air in cans or use a bulb blower. Most of the dust particles will be gone after using compressed air. Be persistent. Sometimes, it might take a while before the particles are actually being removed from the material. When working with negatives or slides always clean both sides.
Dust is everywhere and the compressed air from these cans can also raise the dust levels in your room. Be gentle when you’re blowing the dust off. Look at the material from different angles. Depending on the light incidence you might not be able to see the particles.
Never ever blow with your mouth. Your relatively hot breath will condense on the surface of the negative and salvia on your film is not good for the film at all.
Brush & cloth
Using a soft anti-static brush in combination with compressed air is a great way to remove the more sticky dust particles.
The softest and most gentle way of cleaning your negatives and slides is by using a brush. It allows you way better to control the pressure you’re applying. Make sure you use a soft brush which is cleared for the use for delicate surfaces and preferably an anti-static one.
Fingerprints? Use a microfibre cloth. But be gentle. You may scratch the emulsion if you rub with a cloth.
Clean? Great, if properly stored than this is typically all it takes to clean a negative. Have stubborn dirt, dust, mold, streaks or fingerprints? Read on.
PEC-12 and a soft cloth
Normally some air and a light brush is all it takes but if your film is still dirty you may want to glove up and use a soft lint-free cloth with some PEC-12. Also, use a high quality anti-static cleaning cloth or microfiber cloth and not your everyday wash rag that leaves microscopic debris on the film. We advise PEC-pads, disposable microfiber wipes.
Just dab a tiny amount of PEC-12 solution onto your cloth and gently wipe the negatives and slides from one side to the other. Be careful and watch for abrasive material, like sand, which should be gently blown off the negative before wiping with the dust cloth. The PEC-12 will evaporate instantly. Take a fresh PEC-pad and wipe off the loosened oils, debris, and dust. Make sure to use each pad only once as the smallest debris can create scratches on the surface of your film material.
Check if the film is clean and repeat if required. Your negative should now be ready for archiving or scanning.
